Guide – Mug Printing
Mug Printing – What Is Needed?
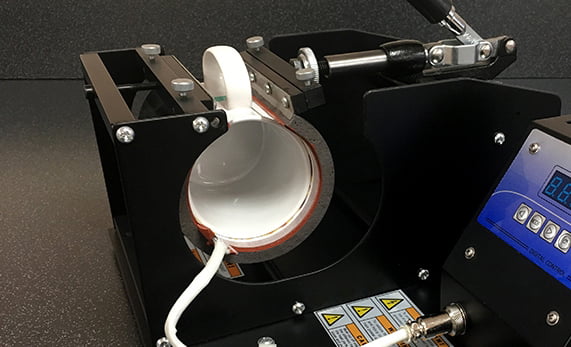
As explained on our What is Dye Sublimation page – in order to produce any sublimation printable product you will need two things; the first is a printer to print your image, whilst the second is a heat transfer press to transfer the image onto your chosen product. In the case of producing our range of mugs and bottles, you will need a Mug Press.
We have a number of sublimation printing systems to chose from, including two Multifunction Mug Presses. This brief guide will help you decide which is best for your needs, depending on the style of mug you want to offer your customers.
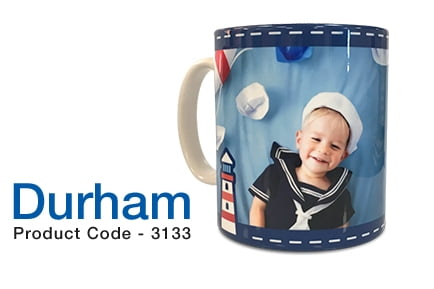
Our Durham sublimation mug is one of our most popular products, and we’re proud to say you can happily achieve a full top to the bottom print on these mugs with any of our two mug presses, providing you are using the same ink and paper.
Mug Presses
Which products can each produce?
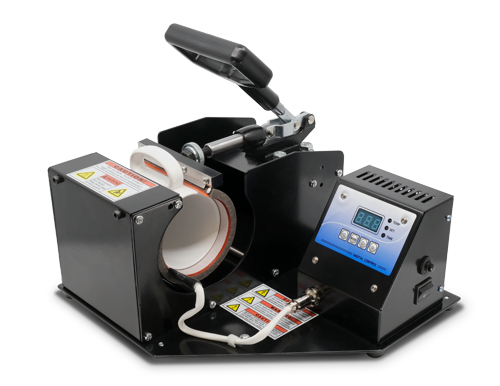
Two Element Mug Press (Code – 3081)
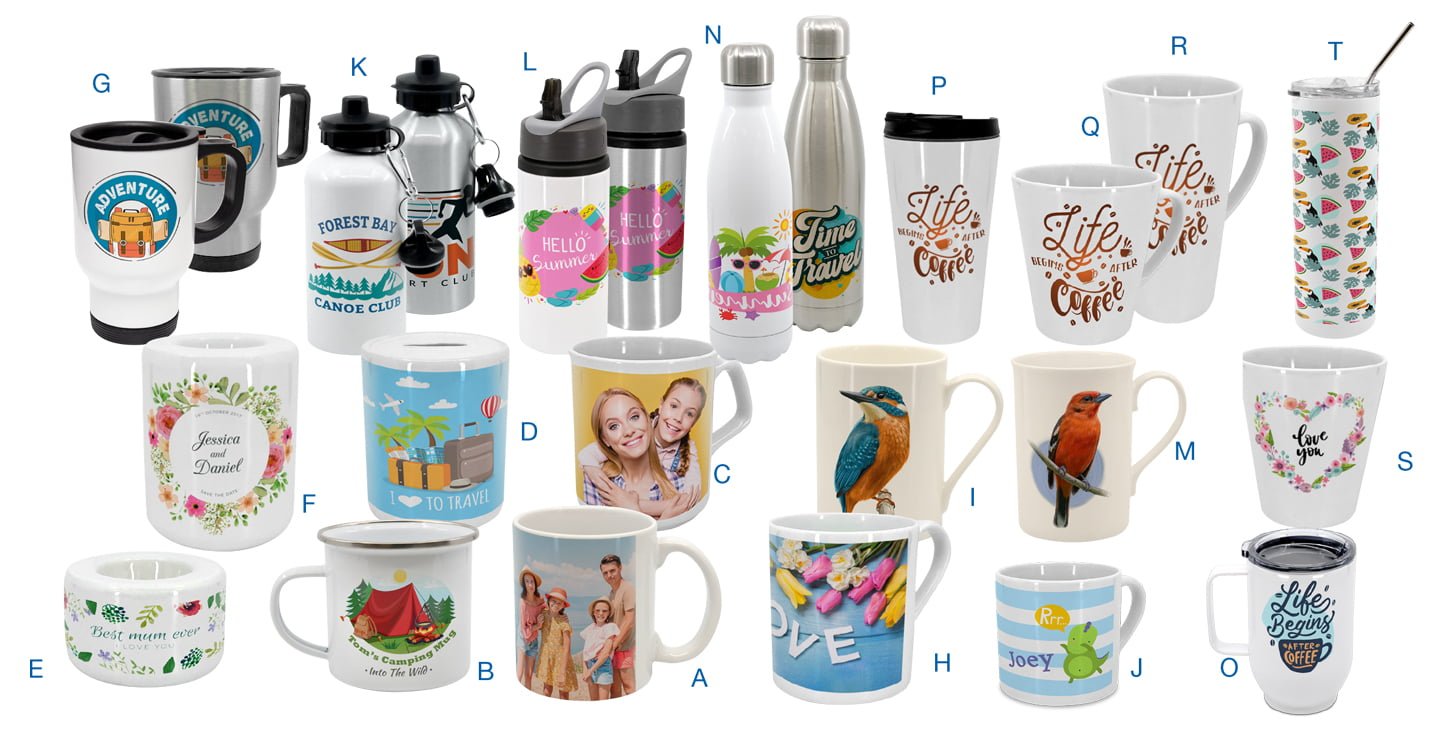
A. Durham mug 10oz (plus all varieties).
B. Enamel Mug (12oz)
C. Sparta Mug (10oz)
D. Money Box
E. Small Candle Holder
F. Large Candle Holder
G. White & Silver Travel Mugs
H. Small Balmoral (10oz)
I. Birmingham Bone China (10oz)
J. Childrens Stubby Mug (6oz)
K. White & Silver Water Bottles
L. Water Bottle wHandle (22oz)
M. Windsor Bone China (10oz)
N. Cola Shape Bottle (500ml)
O. White Coffee Mug with Lid (500ml)
P. White Travel Tumbler (16oz)
Supplied with two interchangeable heating elements.
(Durham Element & Bone China Element)
Capable of top to bottom printing on our
Durham Mugs (including all varieties).
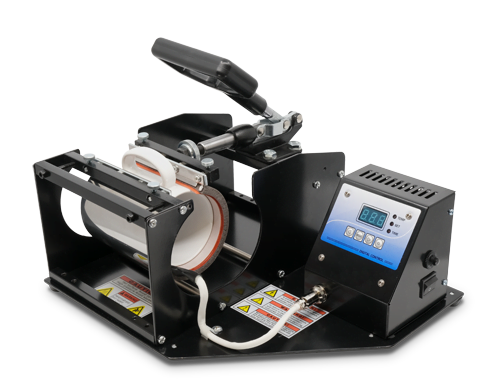
Four Element Mug Press (Code – 3082)
All products listed under our
Two Element Mug Press (including the
Durham & all varieties) as well as the
following printable products.
Q. White Tumbler With Straw (20oz)
R. Small Latte Mug (12oz)
S. Large Latte Mug (17oz)
T. Ceramic Plant Pot
Supplied with four interchangeable heating elements.
(Durham Element, Bone China Element, Small Latte Element & Large Latte Element)
Option of adding the Bottle Element for an extended print
on our range of Bottles.
Capable of top to bottom printing on our
Durham Mugs (including all varieties).
Printing & Pressing
Tips on printing & pressing your Mugs
Now it’s time to print your image
Once you have decided on and received your Mug Press, you then need to print your image.
If you’ve purchased one of our Virtuoso Printers then you’ll have full access to our product templates, if you have purchased the product we will happily supply our template for that product. Our Durham mug template is set up to give you a full top to bottom print when using one of our mug presses.
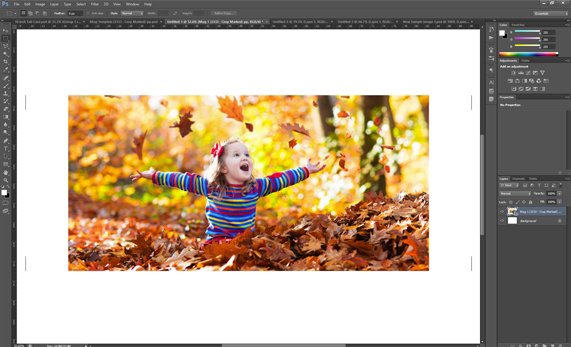
To the right is a screenshot of our template being used in Photoshop. You’ll notice either side of the image is some white space with two thin black lines – these lines are crop marks. When you have printed your image you should trim just inside of these lines, this will then give you a perfect wrap around our Durham mug from one side of the handle all the way around to the other – making positioning the image slightly easier.
Preparing the Mug
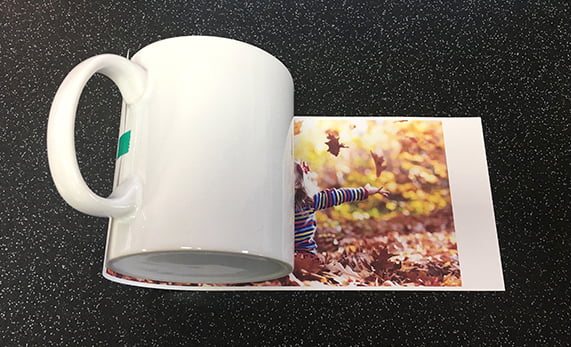
Having printed your image and cut off the excess paper (by cutting just inside of the crop marks), the next step is taping the print to your mug.
As mentioned above our Durham template is sized to give you a full top to bottom print, the template is slightly oversized to give you approximately 2mm bleed along the top and bottom of the mug (see image). This is to prevent any white edges but also helps to line up your design. In cases where a full top to bottom print isn’t required then additional crop marks or a stroke can be added to help line up a your design/logo centrally.
Simply use two small pieces of Heat Resistant Tape to apply your image to the mug/bottle and it’s ready to go in the press.
Pressing the Mug
Now all preparations have been finished it is time to press the mug.
Each of our mugs require a particular mug press and Heating Element in order to transfer an image and get the best results. As we’re demonstrating using a Durham Mug it is the Durham element that is required – this element is supplied with both of our Mug Presses (see above table).
Carefully position the mug in the element whilst adjusting the pressure to suit that particular style. Our Durham Mugs require a light to moderate pressure to ensure all areas of the mug is in contact with the heating element and providing your times and temperatures are correct you should produce a perfect mug. The average length of time a mug will need in our mug presses is roughly two and a half minutes.
Important – please ask a member of our technical staff for times & temperatures before attempting any of our mugs.
